A font consists of letters, numbers, symbols -- a complete font of characters of their common weight, width, and style, and a complete set of characters (letters, numbers, symbols) that have a common weight, width, and style. That's it. Stimulsoft Reports has two components used to set and draw text: the Text and Rich Text components. The font for these components can be set using the Font property in the Object Inspector.
Font selection
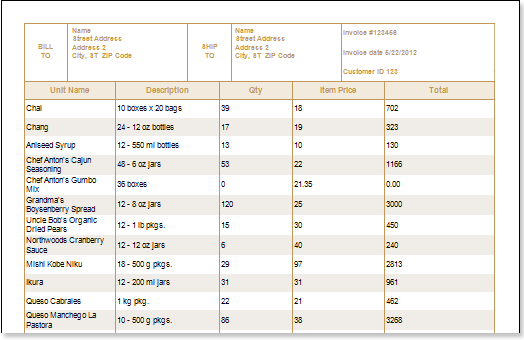
Text in reports can be printed using a variety of fonts. Fonts are set using the Font.Name property. Three examples of fonts are shown below.
| information |
| The font list available in Report Designer contains the fonts installed on your current operating system. For web tools, use fonts installed on the server's OS. |
Any fonts installed on your machine and available through the .NET Framework can be used in your reports. Most often these are OpenType and TrueType fonts. However, when choosing fonts, choose fonts that also exist on the user's machine. Otherwise, the report may not display as desired at run time.
font size
Some components recommend changing the font size. Headings, for example, may require a much larger font size than the copyright notice.
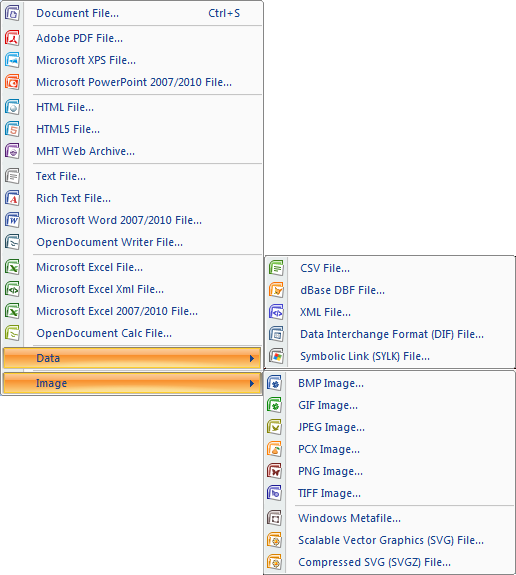
The font size can be changed using the Font.Size property. for example:
font style
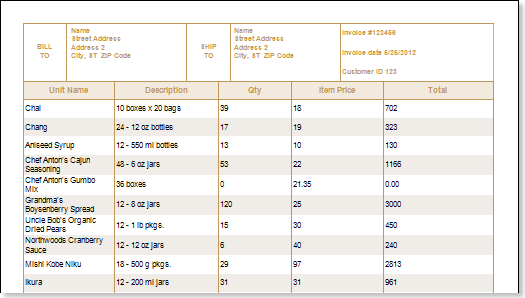
Different styles can be applied to fonts. A font can usually have one or more styles such as bold, semi-bold, italic, underline, and strikethrough. You can control the style using properties such as Font.Bold, Font.Italic, Font.Underline, and Font.Strikeout, and the style to produce different effects such as bold and underline or bold and italic. Can be combined. Here are some examples of font styles:
font brush
Five types of brushes are used for drawing text: Solid, Hatch, Gradient, Glare and Glass. TextBrush properties are used to control the brush. Here is an example of using 5 different brushes.
custom font
When designing reports, you can use custom fonts that are not installed by default with your operating system. Add font files (*.ttf, *.otf) to the report resource. In this case the font is added to the report and can be used like this:
![]() Assign fonts directly to text components. To do this, follow these steps:
Assign fonts directly to text components. To do this, follow these steps:
step 1 : Select a text component or several components.
Step 2 : Select the added font from the drop-down menu on the Home ribbon tab of the Report Designer panel. Custom fonts appear at the top of the font list.
The font you choose applies to all selected components.
![]() Use conditional formatting for components. To do this, follow these steps:
Use conditional formatting for components. To do this, follow these steps:
step 1 : Select a text component.
Step 2 : Click the Conditions button on the Home tab of the Report Designer panel.
Step 3 : add highlight condition;
Step 4 : Specifies the logical conditions for applying the design settings.
Step 5 : Click the Change Font button to select a custom font. Custom fonts appear at the top of the font list.
Step 6 : Click the OK button in the Font dialog, then click the button in the condition's editor.
Now when the logical condition is executed, the custom font will be applied to the component.
![]() report style. To do this, follow these steps:
report style. To do this, follow these steps:
step 1 : Click the Style Designer button on the Home ribbon tab of the Report Designer panel.
Step 2 : Select a style or create a new style in the condition's editor.
Step 3 : In the Properties panel, select your custom font in the Font property. Custom fonts appear at the top of the font list.
Step 4 : Click the OK button in the condition editor.
The font is applied to all components that have this style assigned unless other components are specified in the styling or conditional highlighting.


